A RAW file captured in the field is not the finished image. It contains significantly more tonal data than a JPEG, but that data needs to be interpreted by an editing application and shaped deliberately. The goal of the editing workflow described here is to move from a technically correct but flat-looking file to an image that reflects what the scene actually looked and felt like — without fabricating detail that was not there.
The sequence below works in Adobe Lightroom Classic and applies with minor UI differences to Capture One. The order matters: each stage builds on the previous one, and adjusting tone before fixing white balance, for instance, creates more rework.
Step 1 — White balance
The first adjustment is white balance, because every subsequent colour decision is relative to it. For landscape photography, there is no universally correct white balance. The aim is a neutral rendering of the scene that matches what the light actually was, unless a stylistic departure is intentional.
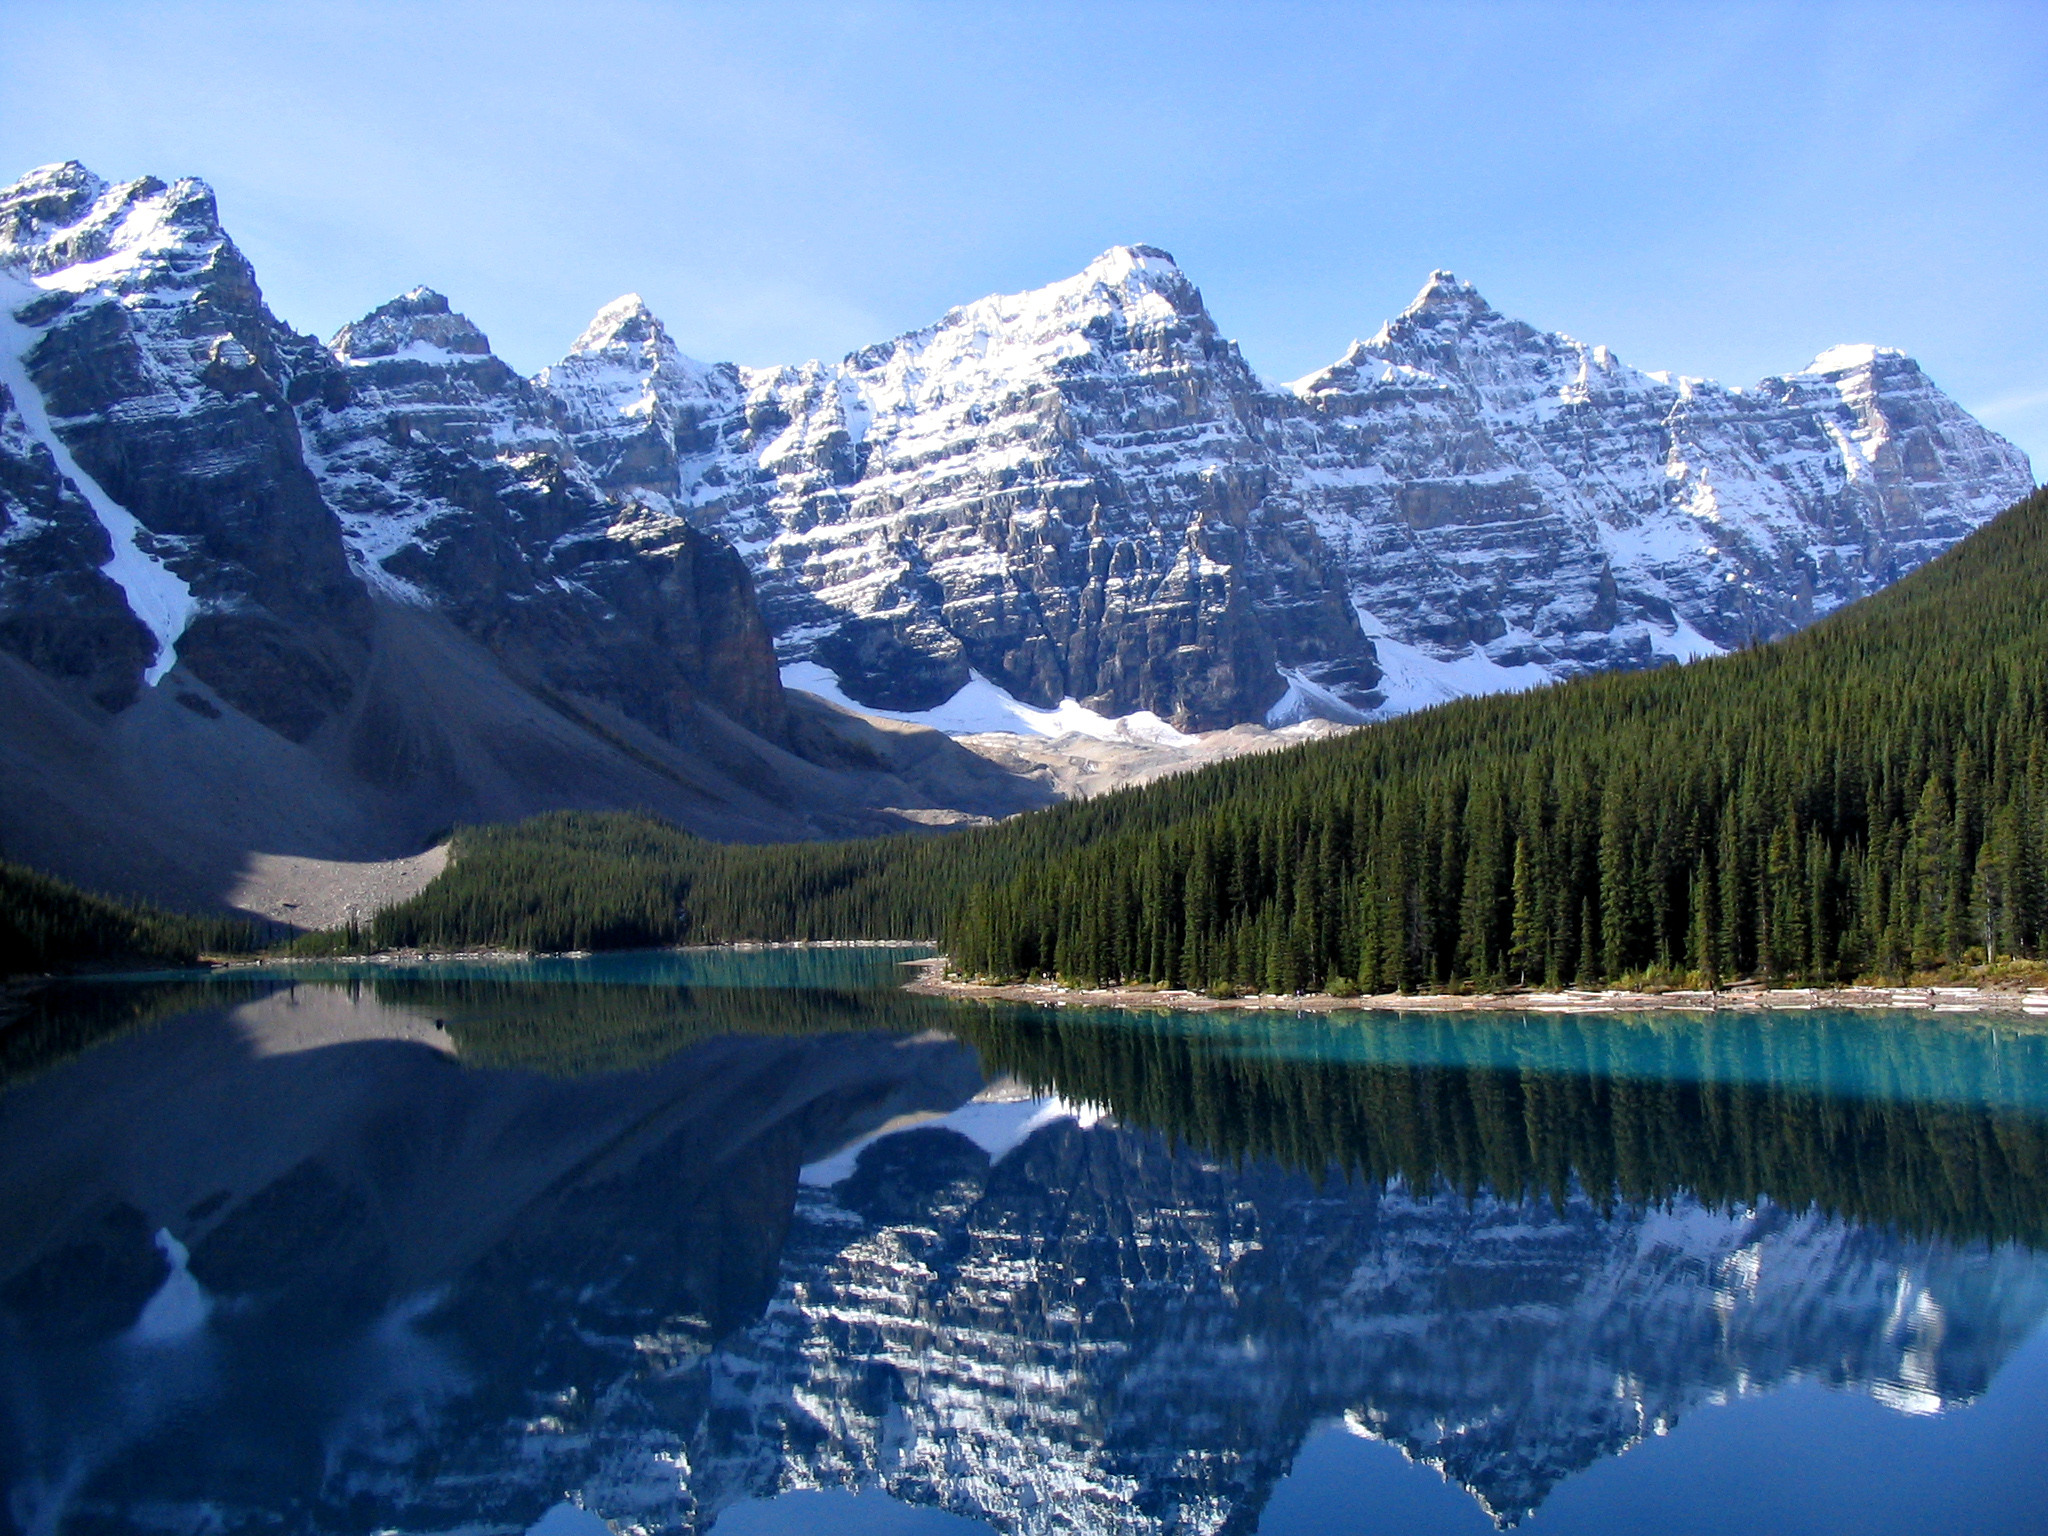
Mountain light changes colour temperature rapidly around sunrise and sunset. A frame shot at 6:20 AM at Moraine Lake in September may have a colour temperature near 4500K in the deepest shadow areas of the turquoise water, while the sky above the peaks holds a cooler tone simultaneously. Setting white balance using the eyedropper on a neutral grey surface in the scene — a rock or concrete path — gives a reliable starting point. From there, small adjustments of 200–400K in either direction are common.
Capture One note: Capture One separates the White Balance tool from the Colour Balance tool more explicitly than Lightroom. The White Balance sliders in Capture One affect the entire tonal range uniformly; the Colour Balance tool allows separate adjustments for shadows, midtones, and highlights. For a scene like an alpine lake at dusk, pulling the shadow colour wheel slightly toward blue-cyan in Colour Balance while leaving White Balance at daylight is a precise way to represent the cool shadow fill typical of open sky environments.
Step 2 — Exposure and tone
After white balance, the global tone adjustments come next. In Lightroom, the standard order is Exposure, then Highlights and Shadows, then Whites and Blacks. In Capture One the HDR sliders (Highlight and Shadow recovery) are the equivalent of the Highlights and Shadows sliders in Lightroom.
Exposure
The Exposure slider applies a uniform shift across the entire tonal range. It is most useful for correcting an overall under- or over-exposure rather than for creative shaping. Move it until the image looks broadly correct, then use the other tone sliders for refinement.
Highlights and Shadows recovery
RAW files from current sensors typically allow two to three stops of highlight recovery — detail in specular highlights (water reflections at noon, snow in direct sun) may be genuinely clipped and unrecoverable, but a sky that reads as slightly overexposed usually contains detail that can be brought back.
Shadow recovery introduces noise in proportion to how deeply the shadows were underexposed. Recovering three stops of shadow detail from a correctly exposed RAW file at ISO 100 is feasible with acceptable noise. Recovering the same amount from a shadow that was five stops under, even at ISO 100, will show colour noise in the recovered area. Noise reduction after shadow recovery is part of the standard workflow.
Whites and Blacks
The Whites slider sets where pure white falls in the output; Blacks sets where pure black falls. Holding Alt/Option while dragging these sliders shows a clipping preview — useful for confirming that highlights in important areas are not going fully white and losing texture.
Step 3 — Tone curve
The tone curve provides finer control over contrast than the basic tone sliders. A mild S-curve — lifting the highlights slightly and deepening the shadows slightly — adds perceptual contrast without affecting the white and black endpoints. The degree of lift or drop determines how strong the effect is.
For mountain landscape files, a point curve with three control points is sufficient in most cases: a fixed anchor at the centre (so the midtones do not shift), a slight drop around the quarter-tone area (to deepen shadows while keeping midtone detail), and a slight lift near the three-quarter-tone area (to open the brighter midtones). Avoid steepening the curve in the upper-highlight zone if the sky is already exposed correctly — it will blow out.
Step 4 — HSL / Colour panel
Landscape RAW files from the Canadian Rockies frequently have two or three dominant colours that benefit from individual adjustment: the teal-turquoise of glacially fed lakes, the deep blue-green of conifer forest, and the warm orange-yellow of larch in autumn or dawn light on rock faces.
Blues and aquas
The water colour of Moraine Lake and Lake Louise is produced by rock flour — fine glacial sediment suspended in the water. It typically reads as a mix of cyan and blue in the RAW file. Pulling the Aqua hue slightly toward blue and increasing Aqua saturation modestly produces a more accurate representation of how the colour appears to the eye on location. Shifting the Blue hue slightly toward cyan deepens a clear alpine sky without creating an artificial-looking result.
Greens
Forest scenes in British Columbia and the Rockies tend to go yellow-green in RAW files under overcast light. Shifting the Yellow-Green hue range slightly toward green, and reducing Yellow saturation moderately, brings the forest colour closer to the cooler, deeper green of spruce and fir in person.
Oranges
During autumn in the Rockies, larch trees at elevation turn a distinct warm yellow. The Orange and Yellow sliders in HSL affect this area of the spectrum. Increasing Orange luminance slightly can open up the foliage in backlit conditions where it would otherwise read as a silhouette.
Step 5 — Local adjustments
Global adjustments affect the entire frame. Local adjustments — masking, gradient filters, radial filters, or luminosity masks — allow targeted changes to specific areas without affecting the whole image.
A graduated filter darkening the sky by one stop from the top is the most common local adjustment in open landscape scenes. The sky and the foreground rarely need the same treatment after global tone adjustments are applied.
Luminosity masks, available as a separate panel in Capture One or through plugins in Lightroom, select pixels based on their brightness value. This produces a mask that transitions naturally according to the actual tones in the image rather than following a geometric shape. They are particularly useful for brightening foreground shadow detail in a scene where the sky and foreground are both present in the same frame.
Step 6 — Sharpening and noise reduction
Sharpening in Lightroom and Capture One works at the pixel level and should be set based on the pixel size of the final output. A reasonable starting point for an image that will be printed at moderate size is Amount 70, Radius 1.0, Detail 25, and Masking 50. Holding Alt/Option while dragging Masking shows which areas of the image are being excluded from sharpening — smooth skies and water surfaces should be masked out to avoid sharpening noise in those regions.
Noise reduction is applied after sharpening. Luminance noise and colour noise are separate sliders in both applications. Start with colour noise at 25 to remove colour speckle, then address luminance noise based on how much is actually visible — over-application of luminance noise reduction removes fine texture from rock, bark, and foliage.
Export settings
For web use, exporting at a maximum dimension of 2400 pixels on the long side as JPEG at quality 85–90 produces files that balance visual quality and file size. sRGB is the correct colour profile for web images. For printing, exporting as TIFF in the colour profile matched to the printer or lab's requirements preserves maximum quality.